


A DIY oil cleanse can work wonders for your skincare schedule. It's a cool little trick that's easy on your wallet and kind to our planet. And the best part? It'll leave your skin looking radiant and healthy, no matter what skin type you have.
Ever find yourself on the hunt for that perfect skin glow? You're definitely not alone. We've all been there, rummaging through endless products, hoping to find the magic potion. Oil cleansing makes it easier to search with its simple yet powerful technique.
So, how about we talk about making your own oil cleansers? Let's talk about your options! I'll focus on the easiest, most accessible, and most realistic ones so you don't have to go by a bunch of expensive ingredients.
Why Choose DIY Oil Cleansers?
Making my own oil cleansers is the best way for me to keep tabs on what touches my skin, dodging the harsh chemicals common in store-bought skincare options. At home, my stash of top-tier, pure oils helps me whip up skincare goodies. These oils are super useful because they're free from nasty extras, and they play a big part in my quest to live a greener life by cutting down on packaging waste.
It's awesome being able to mix up my skincare to match my skin's mood, be it touchy or on the oily side. Making my own drinks means my skin stays balanced and happy, waving goodbye to the need for those tough, store-bought cleansers. Oil cleansing has become my favorite, as it is gentle yet mighty and keeps my skin clear without any upset.
One of the benefits I hadn't initially counted on was the savings. Sure, getting started with buying those high-quality oils felt a bit steep, but they're lasting ages. In the long run, I'm seeing my bank balance looking healthier because I'm not constantly on the lookout for new cleansers to try. Plus, this whole DIY skincare tone has turned my schedule into a mini zen session for me.
That said, I've learned the hard way that a good oil cleanse needs a follow-up. Especially true for days when my makeup's been on heavy-duty or I've been out and about in the city's grime. Going in with a mild second cleanser post oil will make sure my skin's squeaky clean, letting me really reap those oil cleansing rewards. Adopting this two-step cleanse has been incredible, prepping my skin perfectly for whatever I layer on next.
Sea Buckthorn Cleansing Oil Recipe
Talking about DIY skincare, there's this one must-try recipe that's all the rage: the Sea Buckthorn Cleansing Oil. It's a great way to make skin look healthy but very nourished from within. And guess what? You can whip up this magic potion right in your kitchen with a handful of ingredients.
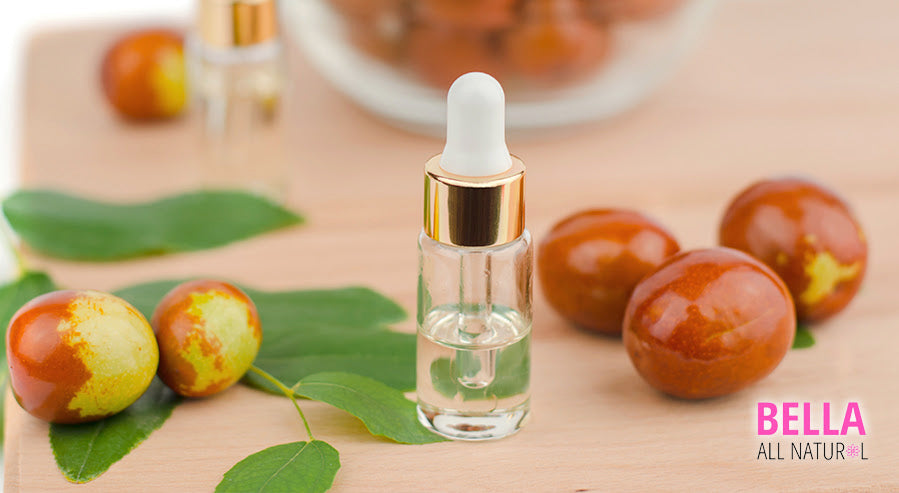
Here's how you get started: snuggle up to Jojoba Oil and Fractionated Coconut Oil. Jojoba is pretty awesome because it's a dead-ringer for the natural oils our skin produces. This makes it the perfect wingman for any additional ingredients you'll add. Fractionated Coconut Oil? Think of it as the lightweight champion for hydration without the sticky, greasy aftermath.
For the actual mixing, fill your container with Jojoba Oil, leaving a quarter unfilled. Here, pour in your Fractionated Coconut Oil. This is the great ratio for that "just right" moisturized feeling without the oil-slick tone. Then, it's time for the favorite - 15-20 drops of Sea Buckthorn Oil. This thing is super useful, packed with vitamins C and E, ready to fight off free radicals and give your skin some serious renewal and healing.
Improve the goodness with Rose Otto, Lavender, and Frankincense oils. Rose Otto smells heavenly and keeps your skin in check. Lavender eases you into relaxation - perfect before bed, and frankincense is your favorite for smoothing out those laugh lines and evening out your skin tone.
Just combine all these with your base oils and give it a little mix - shaking's my method of choice.
Application? Being kind to your skin, start from your neck and work your way up with gentle motions. Store your drink somewhere cool and dark to keep it at its best.
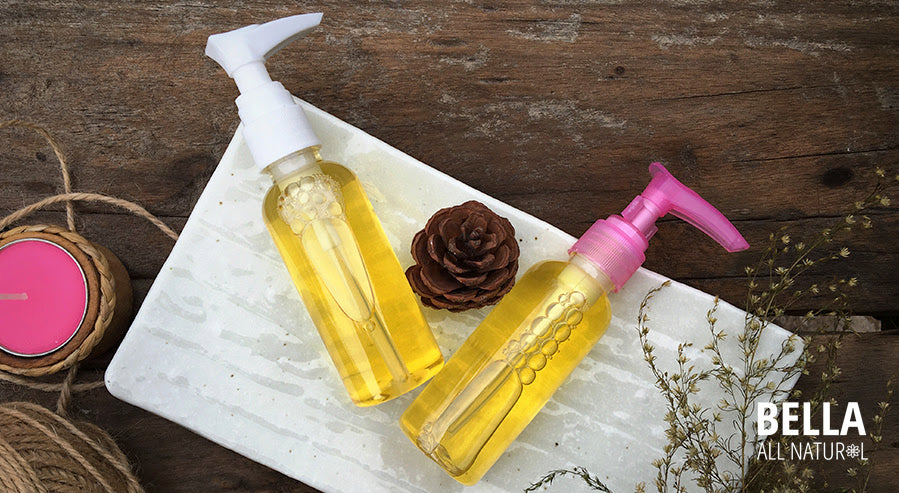
Simple Oil Cleanser for Beginners
Making your own oil cleanser is a walk in the park, and it's the best way to whip up something that's just right for your skin's personal playbook.
You have a whole lineup to pick from - there's Olive Oil, loaded with the good things (vitamins galore), Coconut Oil for when your skin's thirsty, or Jojoba Oil, which is pretty much your skin's twin in oil form. Picking is in what your skin's into.
Let's get into the specifics of making your cleanser.
- Reach for base oils like Castor, Jojoba, Apricot Kernel, or Hemp Seed oil.
- Grab a 50ml amber dropper bottle for the mix-match. And if you're feeling it, toss in a drop of Lavender or Tea Tree oil for that soothing and germ-fighting punch. This part's your call, based on how your skin responds to it.
- Mix all your picks into that bottle and shake it like a Polaroid picture. Let it sit tight overnight to get them all comfortable and blended.
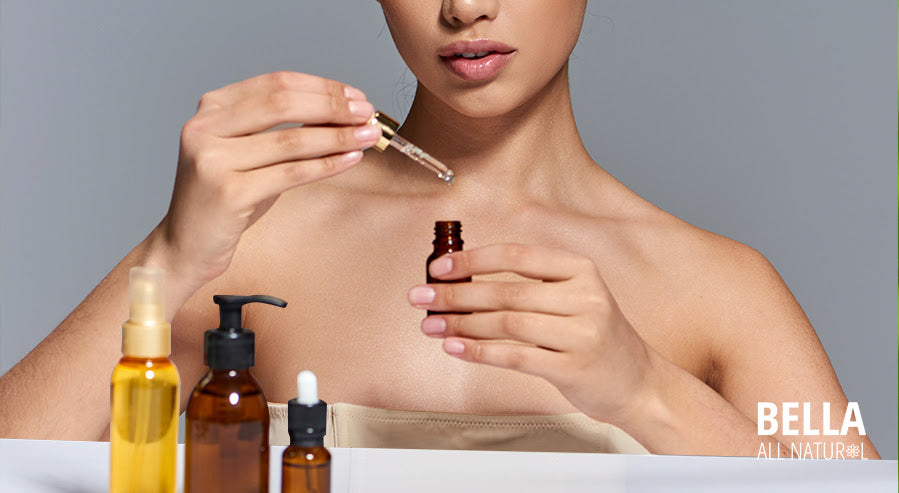
- When it's go-time, kick things off with a splash of warm water on your face. Then, show your skin some love with a gentle massage using 3-5 drops of your drink, moving in circles to get that dirt out and the blood flowing.
- Wipe off the oil with a warm, damp cloth - this bit helps open and improve your pores for a deep clean.
- Wrap up by giving your face a cool rinse to shut those pores back up, and if you're feeling fancy, hit it with some toner and moisturizer.
Think of this as your basic blueprint. Your skin's got its own set of rules, so you might need to play around with the oil mix to hit the sweet spot.
Also, keep an eye on how your skin reacts and changes as you go, learning what your skin's in and giving it what it needs!
Oil Cleansers for Certain Skin Types
Knowing your skin type is important to making a good oil cleanser that really works for you. You can mix and match oils based on whether your skin is usually normal, gets easily upset, feels tight and dry, or is on the oily side. We've seen from whipping up a bunch of different recipes that you can change to make them just right for different skin needs.
If you have skin that doesn't fuss much or gets red at the drop of a hat, reach for Jojoba Oil, Rosehip Seed Oil, and Grapeseed Oil. Jojoba is a star because it's a lot like the oil your skin naturally makes, so it's a great starting point for any mix. Plus, it's really kind on your skin. Rosehip Seed Oil is packed with vitamin C and goes to work on helping your skin bounce back and keep its stretch. Grapeseed Oil is a champ for not making your skin feel greasy, and it's perfect for when your skin's feeling a bit delicate. I love throwing in a bit of lavender or chamomile oil to that mix, too - it's like a hug for your skin after a long day.
If you're dealing with dry or shiny skin, you have to switch gears a bit. Castor Oil steps up because it's awesome at getting your skin clean, but you have to get the amount just right. If your skin is dry, I mix it with Sunflower Oil but keep it low-key so it doesn't end up drying out your skin even more. This duo is great at cleaning without leaving your skin feeling like the Sahara. For oily skin, you can be a bit more generous with Castor Oil. It's good at detoxing and cleaning without taking away all the good oils. Adding a few drops of tea tree oil is a smart move for its germ-fighting powers, especially for oily people.
The real magic in DIY skincare is playing around and seeing what works for you. Start with these combos and then change based on what your skin tells you. You'll see the texture and look of your skin get better as you find your perfect recipe.
I've gotten to know my skin a lot better by trying out different mixes, adjusting amounts, and trying new oils when the seasons change or if I'm feeling stressed. It's made me more in tune with what my skin needs.
Argan and Sunflower Oil Cleanser Method
Making your own Argan and Sunflower Oil Cleanser is easy and super good for your skin, leaving it bright and well-fed. It's a perfect pick for anyone, regardless of skin type, thanks to its nicely balanced mix.
Start by rounding up some Argan Oil and Sunflower Oil. Argan Oil is a hydration hero, packed with really important fatty acids and antioxidants, giving your skin a refreshing improvement. Sunflower Oil steps up the hydration game, too, without clogging your pores. Throw in some Cromollient SCE to get that oil to mix nicely with water, which makes it very easy to rinse off without any greasy leftovers. Remember to add Vitamin E Oil and a pinch of Rosemary Extract to the mix for a dose of antioxidants and to promote firm, clear skin.

Here's how to whip it up:
- Kick things off with two tablespoons of Argan Oil.
- Mix in 2 tablespoons of Sunflower Oil.
- Add one teaspoon of Cromollient SCE for that rinse-off magic.
- Squeeze in a few drops of Vitamin E Oil for an antioxidant kick.
- Finish with a sprinkle of Rosemary Extract for that toning touch.
When you're ready to use it, gently massage the oil onto your face in circles. This method both cleanse; it also gets the blood flowing, which makes your skin pop with a natural glow.
Geranium Rosehip Anti-Aging Cleanser
Here's how to whip up a simple anti-aging cleanser packed with goodness from nature itself. You'll love how rosehip oil, our star ingredient, works wonders by giving your skin cells an improvement and leaving your skin feeling more flexible - something we all appreciate as our skin matures! To give it an extra kick, we're throwing in geranium oil, which is fantastic for firming and brightening your skin tone.

Ready to create your magic potion? Here's what you do:
- Start off with two tablespoons of rosehip oil.
- Mix in 5 drops of geranium oil for that extra glow.
- Feel free to add in a few drops of other oils you like - maybe carrot seed, lavender, helichrysum, or frankincense - each has its own skin-loving benefits, from moisturizing to healing.
- Put all these liquid options into a dark glass bottle. Make sure it has an eye-dropper, too, for easy application.
- Give the bottle a good shake to get all the ingredients hanging out together.
- Apply 4-5 drops on your face with a gentle massage. Let your skin soak up all the goodness.
This blend is a champ at keeping your skin hydrated and shielded from daily environmental wear and tear. Adding it to your PM skincare ritual could really help in maximizing its benefits, leaving your skin feeling renewed and looking glowy.
How Long Until I See Results?
Seeing the benefits from DIY oil cleansers doesn't happen overnight, and that's okay. Having a bit of patience goes a long way. Remember, your skin's health is what you put on it. Eating right, cutting down on stress, and getting lots of shut-eye play huge roles too. The secret sauce? Stick with your oil cleansing schedule without looking for a quick fix. Plus, getting to know what your skin loves and treating it to some natural goodness is important. Since everyone's skin marches to the beat of its own drum, results will vary. But here's the cool part - rolling with this schedule is a chance to give yourself some love.
Taking care of your skin is a piece of the bigger health and wellness puzzle. Here at Bella All Natural, we're joining you on this adventure. We have everything from Skinny Iced Coffees that give your metabolism a nudge to Detox Kits for starting fresh.
Ready to start off your health process? Bella All Natural may just be your new favorite. Whether it's getting back on track with detox kits, chasing those weight loss goals, or finding the perfect natural beauty picks, we have you. Swing by, and let's make those health dreams a reality.
